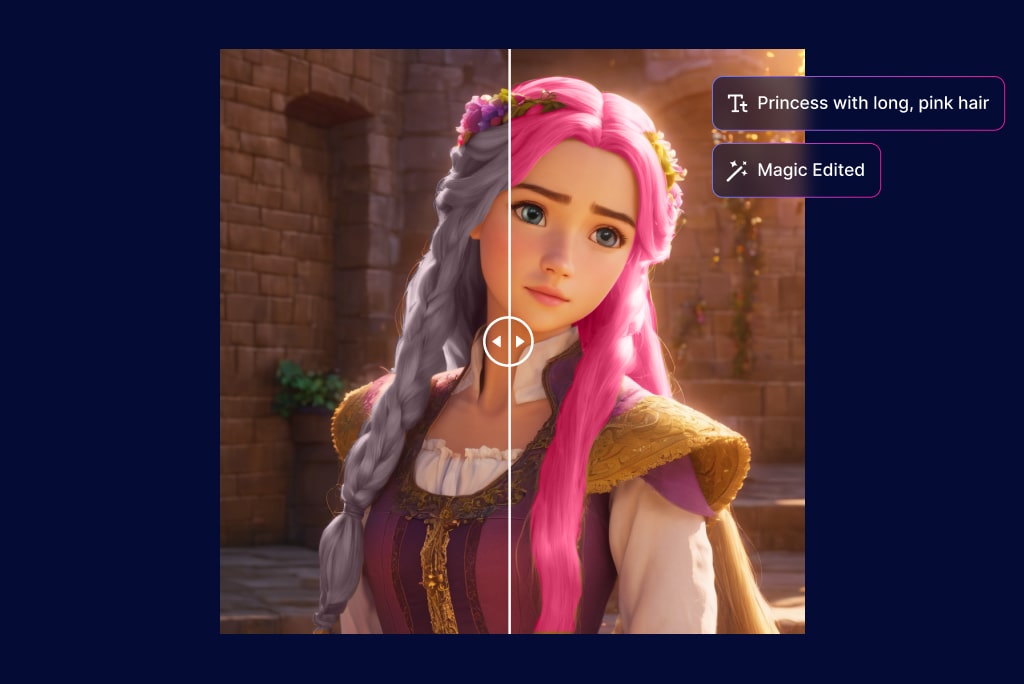
Creating amazing AI images starts with a good prompt. If you’re new to this, don’t worry! This guide will teach you all the essentials — no prior experience required.
Think of it like giving clear instructions to a robot: the better you describe your vision, the closer the result will be to what you imagined.
Why Do Prompts Matter?
The prompt you write tells the AI exactly what to generate. But since the AI doesn’t “think” like a person, the more precise, descriptive, and focused your prompt is, the better your result will be. Experimentation is part of the fun, and even mistakes can lead to happy surprises!
Let’s break it down into simple tips to help you get started.
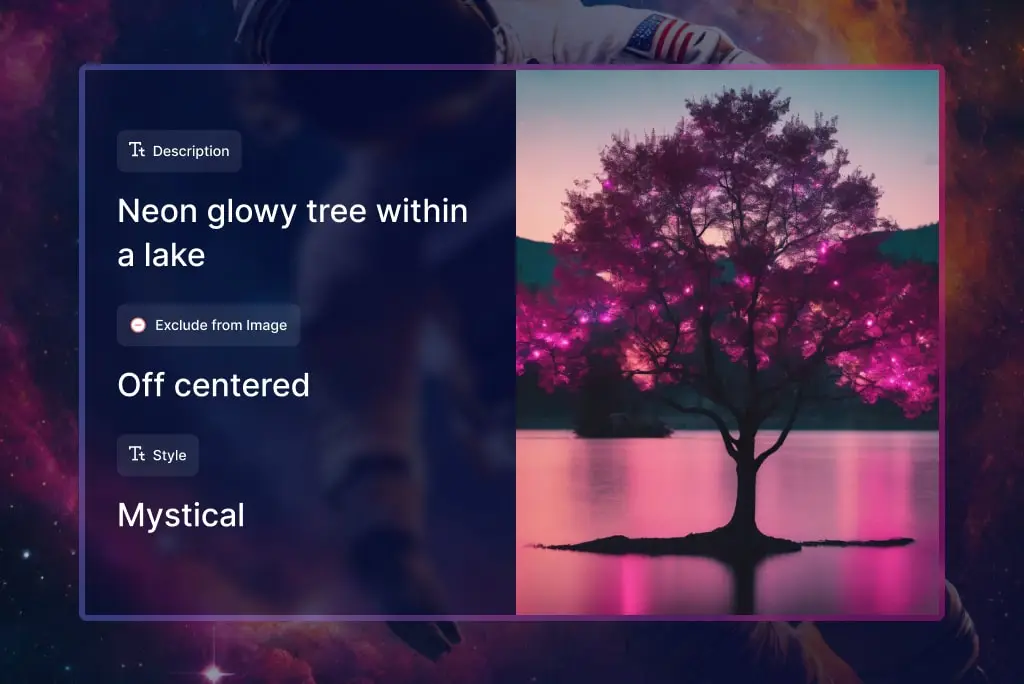
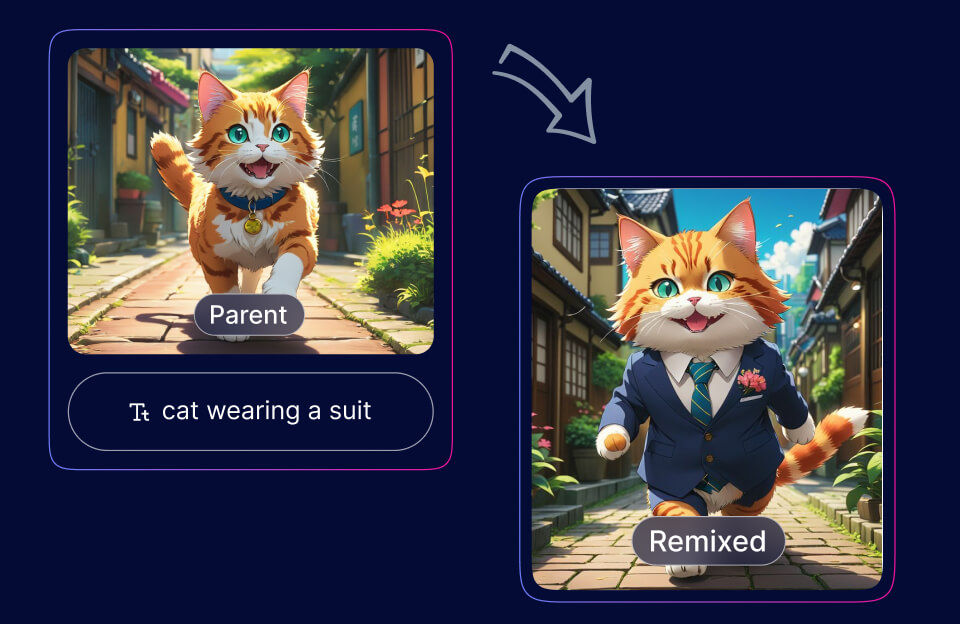
Tip 1: Start with a Clear and Specific Prompt 🧠
Vague prompts can confuse the model, leading to results that may not match what you’re imagining. Instead of:
Try:
- “A serene sunset beach scene with palm trees and gentle waves.”
The second prompt paints a clear picture for the AI, leading to more precise results. Think about the elements you want to include, such as objects, colors, and settings.
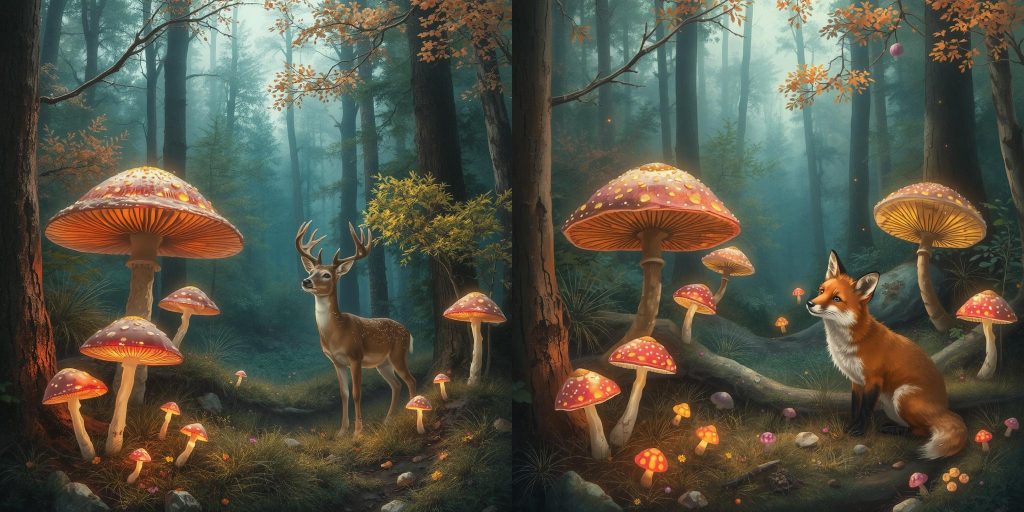
Tip 2: Use Descriptive Language for Mood and Style 📝
Add adjectives and adverbs to shape the mood, tone, or visual style you want to achieve. For example:
- “A whimsical, colorful forest with glowing mushrooms and fairy lights.”
- “A minimalistic black-and-white portrait of a cat with a mysterious expression.”
Descriptive language helps the AI understand the feeling and vibe you’re going for. The more vivid your descriptions, the closer the AI will get to your creative vision.
The second prompt paints a clear picture for the AI, leading to more precise results. Think about the elements you want to include, such as objects, colors, and settings.
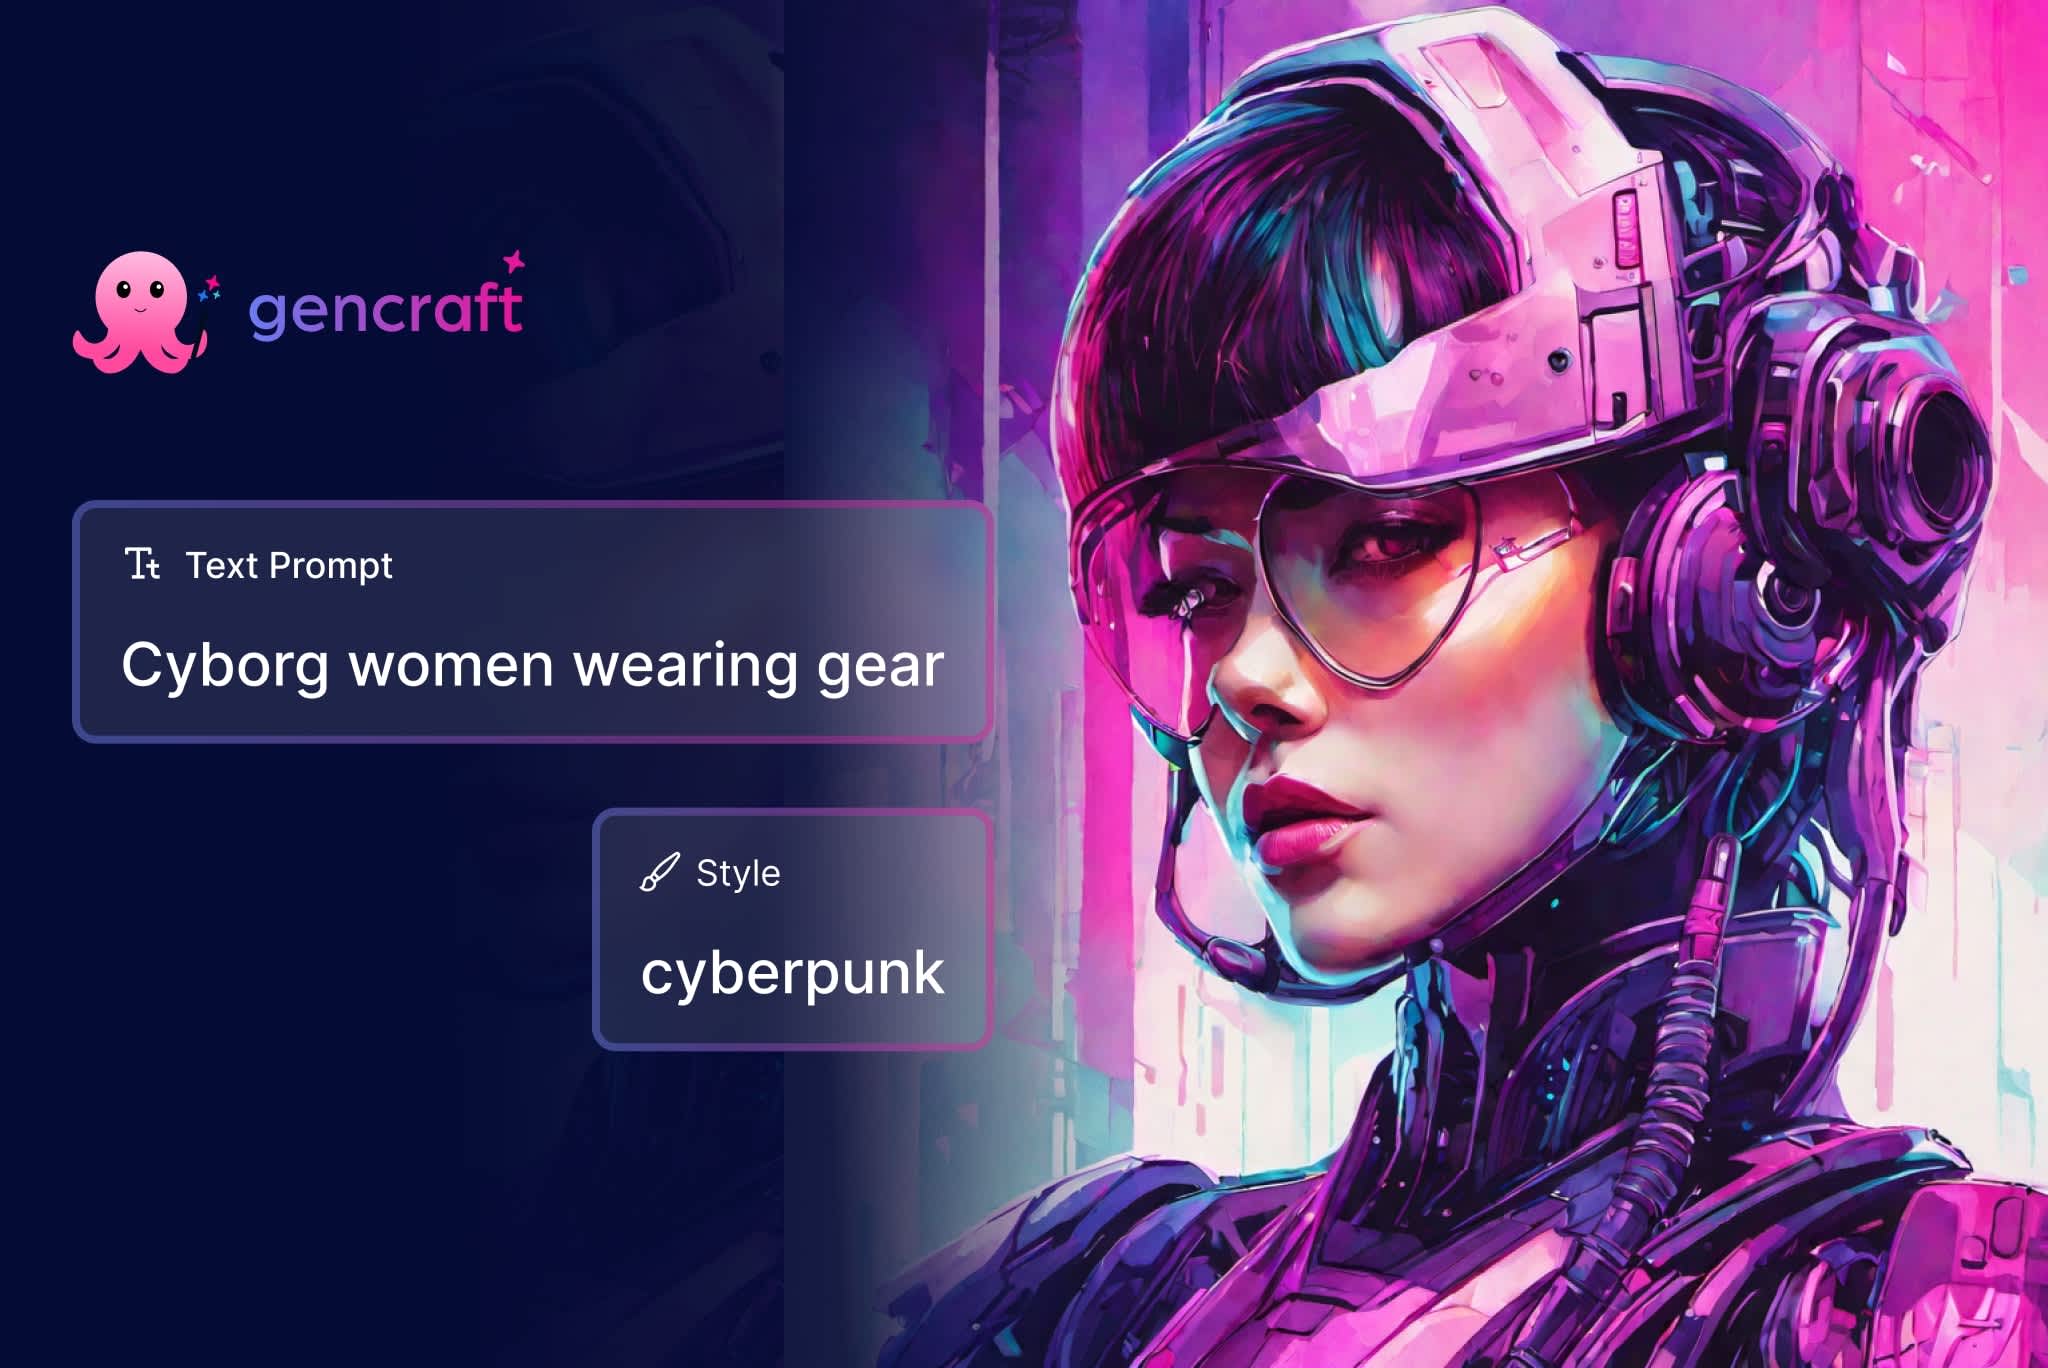
Tip 3: Reference a Character or Artist for Inspiration 👩🎨
You can give the AI a reference to a well-known art style, movement, or artist. For example:
- “A futuristic cityscape inspired by the neon aesthetic of Cyberpunk 2077.”
- “A swirling, dreamy night sky in the style of Van Gogh’s Starry Night.”
This helps the AI match your vision with an existing aesthetic, guiding it toward the style you want.
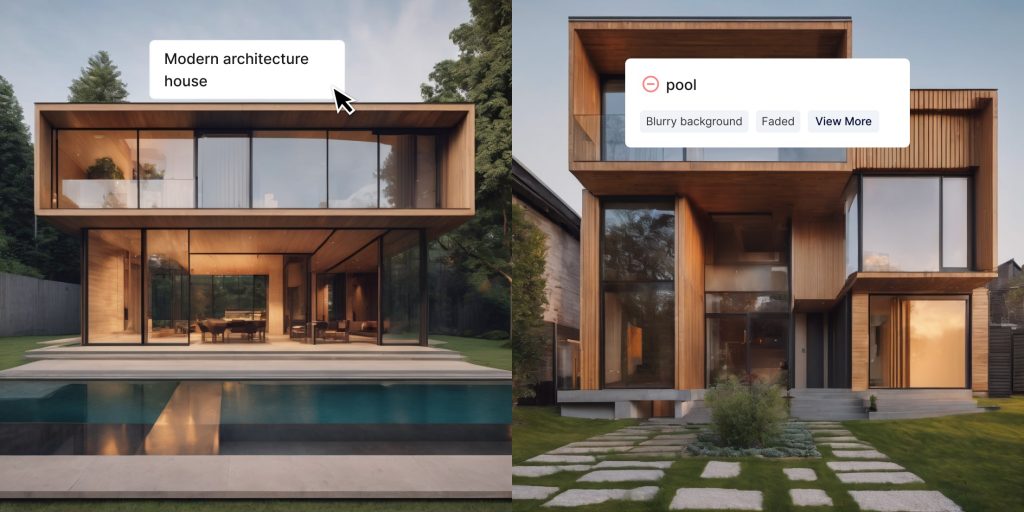
Tip 4: Avoid Negations in Prompts ⛔️
The AI can struggle with words like “not” or “without.” Instead of saying:
- “A huge mansion, no pool”
Try focusing on what you want to see instead. Use our negative prompt feature to explicitly exclude things:
- “Generate a modern mansion surrounded by a garden”
- Negative Prompt: “pool“
Note: Negative prompts have varying degrees of effectiveness, depending on the Model you have selected. Some Models react very strongly to negative prompts, while others do not, so play around with it and adjust your prompt accordingly.
Tip 5: Experiment With Your Prompt Format 🔬
You can write your prompt as either a sentence or a list—whichever feels more natural to you:
- Sentence: “A cat sitting on the beach enjoying the sunshine.”
- List: “Cat, beach, bright sunshine, joyful expression.”
Both formats work, so feel free to experiment and see which one gets you the best results!
Tip 6: Use ((Word Weighting)) for Greater Emphasis 💪
If some parts of your prompt are more important than others, you can assign weights to them by using parentheses. The more parentheses you use, the more emphasis the AI places on those words.
Example Prompt with Weights:
- “A (((tattoo of a fox))) on an ((ankle)) with a (weird, mystical aura).”
In this prompt:
- “Tattoo of a fox” is the most important part (3 parentheses).
- “Ankle” is second in importance (2 parentheses).
- “Weird, mystical aura” has the least added emphasis (1 parenthesis).
Weights give you more control over what details the AI prioritizes in your final image.
Tip 7: Use the Prompt Enhancer for Extra Detail 🔎
Stuck on what to say? Try our Enhance Prompt tool! This feature adds more descriptive language and applies word weights to your prompt automatically.
Click the “Enhance Prompt” button at the bottom right of the prompt box to get started.
Example:
- Starting Prompt: “A man standing in front of a castle.”
- Enhanced Prompt: “A (((man))) standing confidently in a (((plaza outside a medieval castle))), his posture suggesting authority and gravitas, with the (opulent castle walls and turrets looming in the background).”